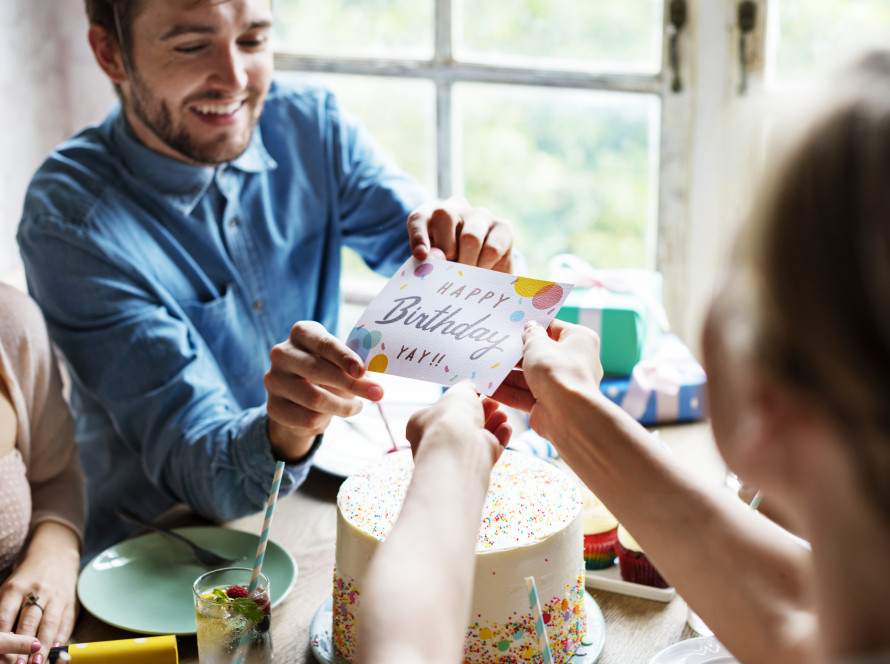
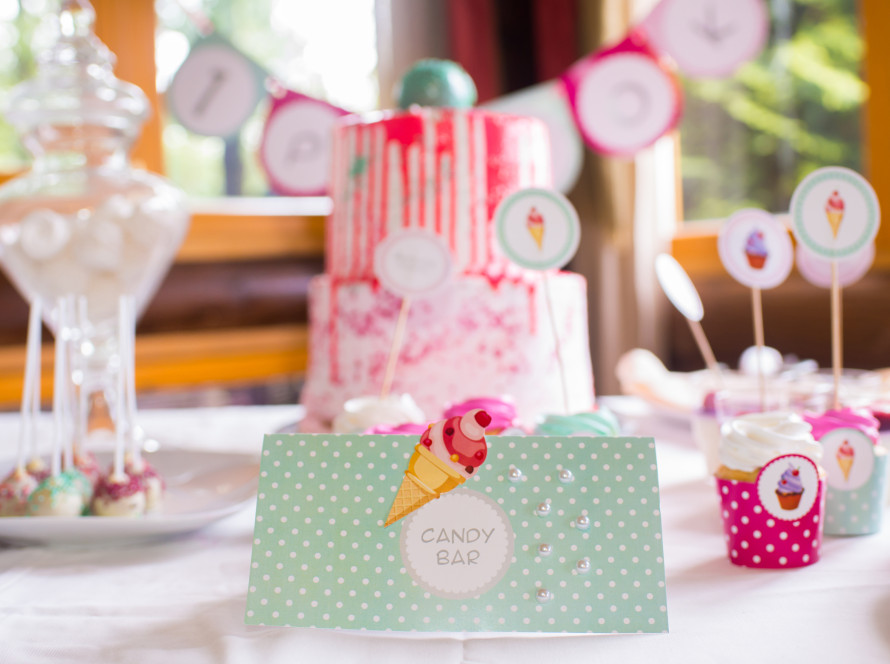
Creating a DIY celebration is a breeze with a few simple steps. Start by choosing a theme that matches the occasion and the honoree’s interests. Gather essential crafting supplies like scissors, adhesive, and quality paper. Use online platforms to create custom decorations and party favors with personal touches. Plan activities and a simple menu to keep guests entertained. Keep a relaxed schedule to ensure everyone’s enjoyment. Want more tips for a fantastic celebration?
Choosing the Perfect Theme for Your Celebration
Choosing the perfect theme for your celebration can set the tone for an unforgettable event. First, consider the occasion and the interests of the person you’re celebrating. Whether it’s a birthday, anniversary, or graduation, the theme should resonate with the guest of honor. Think about their favorite colors, hobbies, or movies and let those inspire you.
Next, assess the venue and its capabilities. A beach theme works great outdoors, but might not be ideal for a small indoor space. Visualize how you’d like the event to unfold and choose a theme that complements that vision.
Finally, consider your budget. Some themes require elaborate decorations, while others can be achieved with minimal expense. Your theme choice should align with both your creative vision and financial plan.
Gathering Essential Materials and Tools
To start your DIY celebration, gather the essential crafting supplies, like glue, scissors, and decorative paper. Make sure you have the right printing equipment to create custom invitations and banners. Don’t forget a variety of cutting tools to help you shape and refine every detail with precision.
Essential Crafting Supplies
Crafting the perfect DIY celebration begins with gathering the essential materials and tools. You’ll want to ensure you have everything you need right at your fingertips to bring your creative visions to life seamlessly. Start with the basics that are versatile and effective. Stock up on:
- Scissors: A good pair of sharp scissors is crucial for precise cutting of paper, ribbons, and fabric.
- Adhesives: Choose a variety of adhesives like glue sticks, double-sided tape, and glue dots for different surfaces and strengths.
- Cutting Mat: Protect your work surface and ensure clean cuts with a durable cutting mat.
These supplies form the backbone of your crafting toolkit, making it easier to focus on the creative process and enjoy every step of your DIY celebration project.
Printing Equipment Guide
Printing can take your DIY celebrations to the next level by adding a personalized touch to invitations, banners, and decor. To get started, you’ll need a reliable printer. An inkjet printer is versatile, handling both text and photos with ease. Ensure it supports various paper sizes and types, like cardstock or glossy paper. Don’t forget to stock up on ink cartridges; running out mid-project could be frustrating. A cutting mat or self-healing mat can protect your surfaces when aligning prints.
You might also consider investing in design software. Programs like Canva or Adobe Spark offer templates and customization options to make your creations stand out. Lastly, have quality paper on hand. Look for acid-free options to ensure durability and vibrant colors. With these essentials, you’re ready to print and impress!
Cutting Tools Overview
While your printer gets the creative juices flowing, having the right cutting tools on hand ensures your projects look polished and professional. To achieve clean lines and precise shapes for your DIY celebrations, gather these essential tools:
- Scissors: They’re versatile and perfect for quick trims or detailed cuts. Choose a pair with comfortable handles for extended use.
- Craft Knife: Ideal for intricate designs, a craft knife allows you to cut with precision. Ensure you have a cutting mat to protect your surfaces.
- Paper Trimmer: For straight, even edges, a paper trimmer is indispensable. It speeds up the process and reduces errors, especially for larger projects.
Designing Custom Decorations With Ease
When you’re preparing for a celebration, creating custom decorations can transform any space into a personalized wonderland. Start by choosing a theme or color scheme that reflects the occasion or the honoree’s personality. Use design software or online platforms to draft your ideas and patterns. Many websites offer free templates, making it easy for you to customize banners, table settings, and wall art. Print your designs on quality paper or cardstock to ensure they stand out.
Next, gather materials like scissors, glue, and decorative elements such as ribbons or glitter. Assemble your decorations with care, using your cutting tools to achieve precise shapes and edges. Don’t forget to add personal touches, like names or dates, to make your decorations truly unique. Enjoy the creative process and see your vision come to life!
Crafting Personalized Party Favors
After you’ve adorned your space with custom decorations, it’s time to focus on crafting personalized party favors that guests will cherish. These thoughtful tokens show appreciation and add a personal touch to your celebration. Begin by selecting a theme that aligns with your event’s vibe. Then, consider these creative ideas:
- Customized Treat Bags: Fill small bags with candies or homemade cookies, and attach a personalized tag with each guest’s name.
- Miniature Plants: Decorate tiny pots or jars with paint or stickers, and include care instructions for a lasting memento.
- DIY Scented Candles: Pour wax into small jars, add a few drops of your favorite essential oil, and label them with a heartfelt message.
Your guests will leave with delightful keepsakes that remind them of your memorable event.
Setting Up a Stunning DIY Photo Booth
Creating a stunning DIY photo booth starts with selecting the perfect backdrop, so choose colors and patterns that match your theme. You can also craft fun props using everyday materials to add personality and excitement to each photo. By focusing on these elements, you’ll set the stage for memorable pictures that guests will cherish.
Selecting Perfect Backdrops
Why settle for ordinary photos when you can elevate your DIY celebration with a stunning photo booth? Selecting the perfect backdrop is key. Start by considering your party’s theme and color scheme. You’ll want a backdrop that complements the overall vibe and makes your photos pop. Think about the location and space available; it should be large enough for group shots yet fit seamlessly into the party area.
Here are some ideas for selecting a backdrop:
- Fabric and Textures: Use curtains, sequins, or patterned fabric to add depth.
- Paper and Prints: Hang unique or themed prints for a personalized touch.
- Natural Elements: Incorporate greenery or wooden elements for a rustic feel.
Choose a backdrop that reflects your style, ensuring unforgettable photos for guests.
Crafting Fun Props
When setting up a stunning DIY photo booth, crafting fun props is a must to enhance the experience. Start by gathering colorful cardstock, markers, and a pair of scissors. Create quirky mustaches, oversized glasses, or even speech bubbles with funny phrases. Use templates from the internet or let your creativity run wild.
Next, attach your cutouts to dowels or straws using glue or tape, ensuring your props are sturdy. Consider adding some glitter or stickers for extra flair. Keep your audience in mind; cater to the theme of your event, whether it’s a birthday, wedding, or holiday party.
Finally, place your props in a decorative container near the booth. Watch as guests dive in and capture memorable moments with your creations!
Tips for Seamless Execution and Maximum Enjoyment
Although planning a DIY celebration might seem daunting, a few strategic tips can ensure everything runs smoothly and everyone has a blast. Start by organizing your tasks well in advance. This allows you to handle unexpected hiccups without stress. It’s also crucial to delegate responsibilities among friends or family, so you’re not overwhelmed.
To maximize enjoyment, consider these key points:
- Simplify your menu: Opt for easy-to-make dishes that don’t require constant attention, allowing you to enjoy the party, too.
- Create a flexible schedule: Allow room for spontaneity and ensure guests can mingle and partake in activities at their pace.
- Test technology beforehand: Check all audio-visual equipment for any issues, ensuring presentations or music play without a hitch.
With these tips, your celebration will be both seamless and enjoyable.
Frequently Asked Questions
How Do I Estimate the Budget for a DIY Celebration?
To estimate your DIY celebration budget, start by listing all necessary items. Research their prices online, then add a buffer for unexpected costs. Prioritize essentials, and don’t forget to include shipping and taxes in your calculations.
What Are Some Eco-Friendly DIY Celebration Ideas?
You can create eco-friendly decorations using recycled materials like old newspapers for bunting or cloth scraps for table runners. Consider using potted plants as centerpieces and encourage guests to bring reusable utensils to reduce waste.
How Can I Involve Kids in the DIY Celebration Process?
You can involve kids by letting them choose colors, cut decorations, or design invitations. Encourage creativity with simple tasks like painting or crafting. Make it fun by playing music and rewarding their efforts with a small treat.
What Are Some Time-Saving Hacks for DIY Celebrations?
You can save time by prepping materials in advance, using templates for decorations, and setting up an assembly line for tasks. Enlist help from family or friends to speed up the process and enjoy the celebration.
How Do I Ensure Guest Safety at DIY Celebrations?
Ensure guest safety by setting up clear signage for exits, having a first aid kit handy, and managing crowd control. Keep pathways clear and well-lit. Communicate emergency plans, and always have a designated area for assistance.


